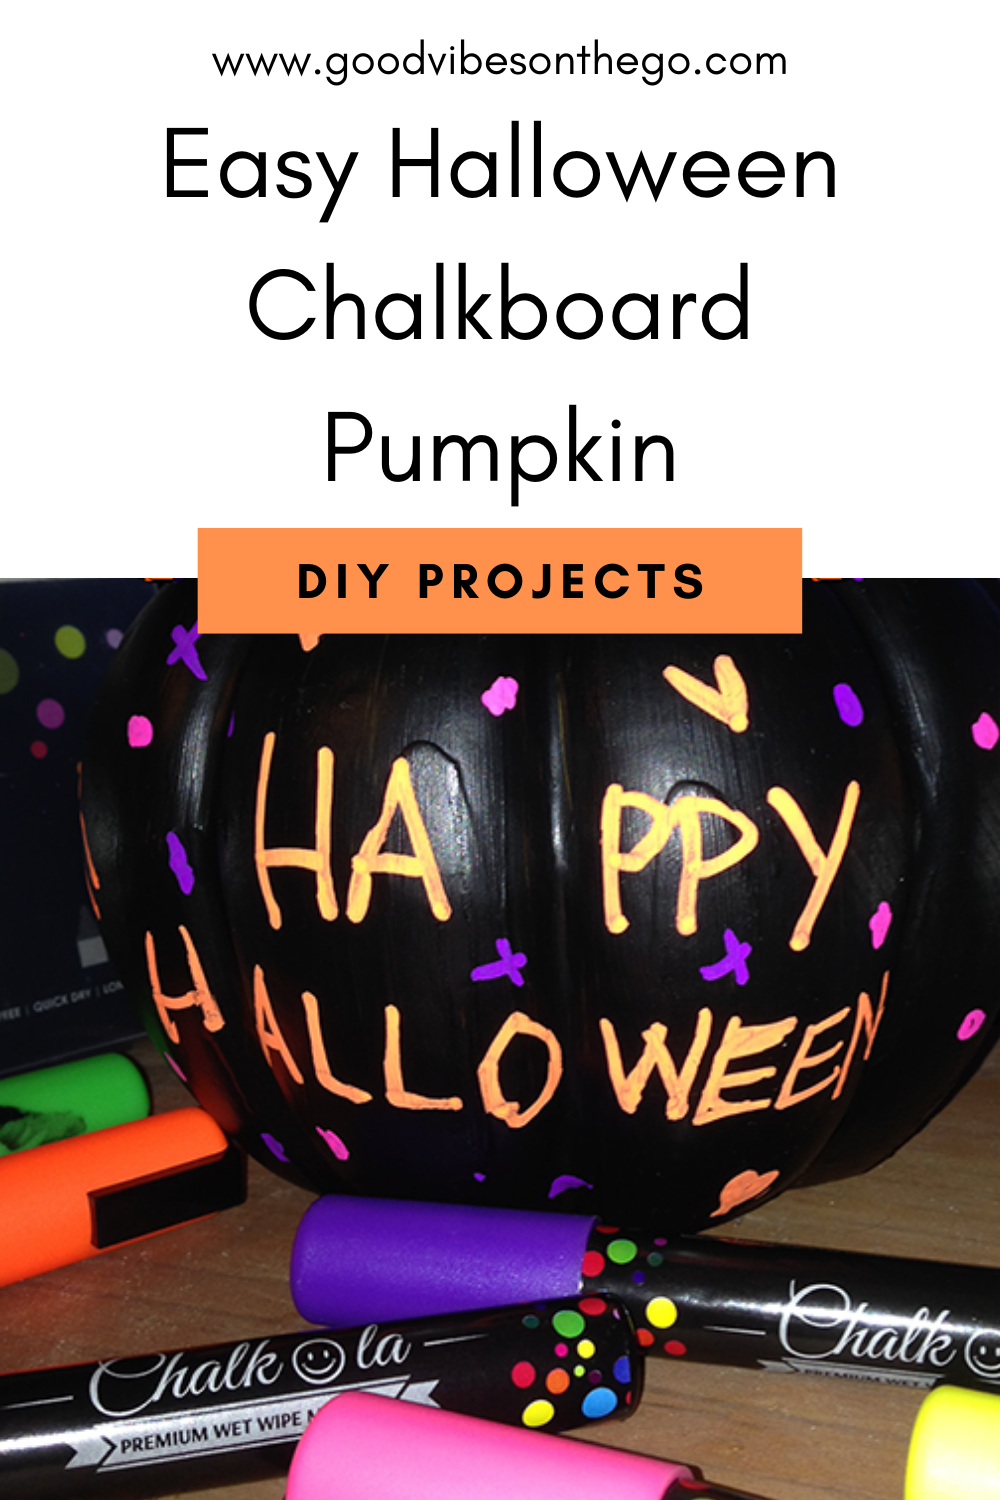
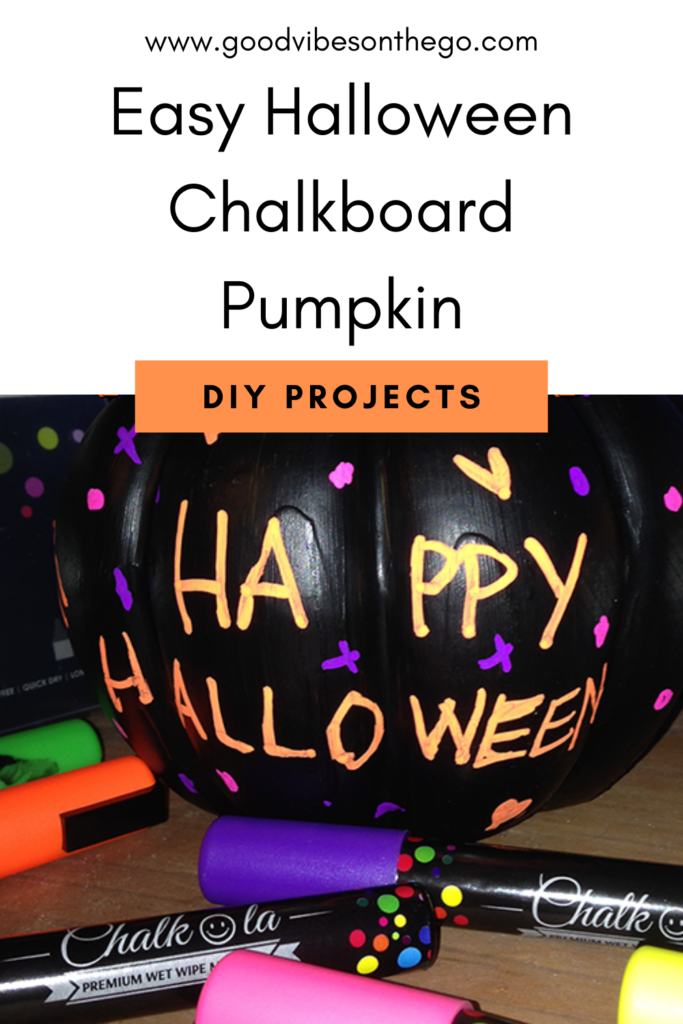
Need a simple Halloween DIY idea? Check out this Chalkboard Pumpkin Craft! Yea, I’m well aware it’s the day before Halloween, but I had this planned all month, but between, court, work and more work, I don’t have time for anything anymore.
This project too all of like 15 minutes, minus the drying of the pumpkin. These make great last minute pumpkin decorating, that’s safe for kids and less messing than cutting them!
Chalkboard Pumpkin Supplies:
DIY Guide:
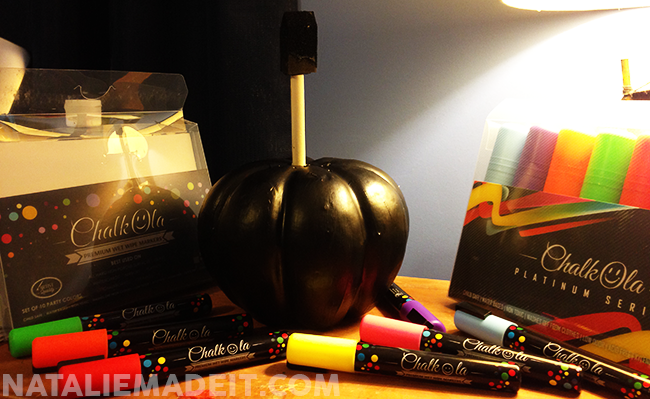
- So I put a knife in there to hold it, while I paint it. It was pretty ugly before hand, another reason why this was a good idea.
- Once it was painted with the chalkboard paint, let dry for 30 minutes to a hour, depending on how many layers and how big it is.
- You have to shake each marker for 30 seconds up and down. Then press the tip up and down on a hard surface for 1-3 minutes. You have to do this for each marker, this took longer then the project as a whole.
- Once they’re done, you simple doodle on your pumpkin! When you’re done, you can wash it off and start again!
So minus the fact it took a good while to get the markers to actually start working, over all I love these markers! I can’t do much with them now, but when Hailey & I move, man we’re gonna have so many chalk projects! Gonna crazy with them honestly! Will have to stock up on more chalk markers.




melthecrafter says
Awesome project! Thanks for sharing
Calvin says
Neat, halloween coming up again soon!
Nancy says
This is a cute project to make, display, and enjoy!
Nova S says
this is so neat!! i definitely want to try it