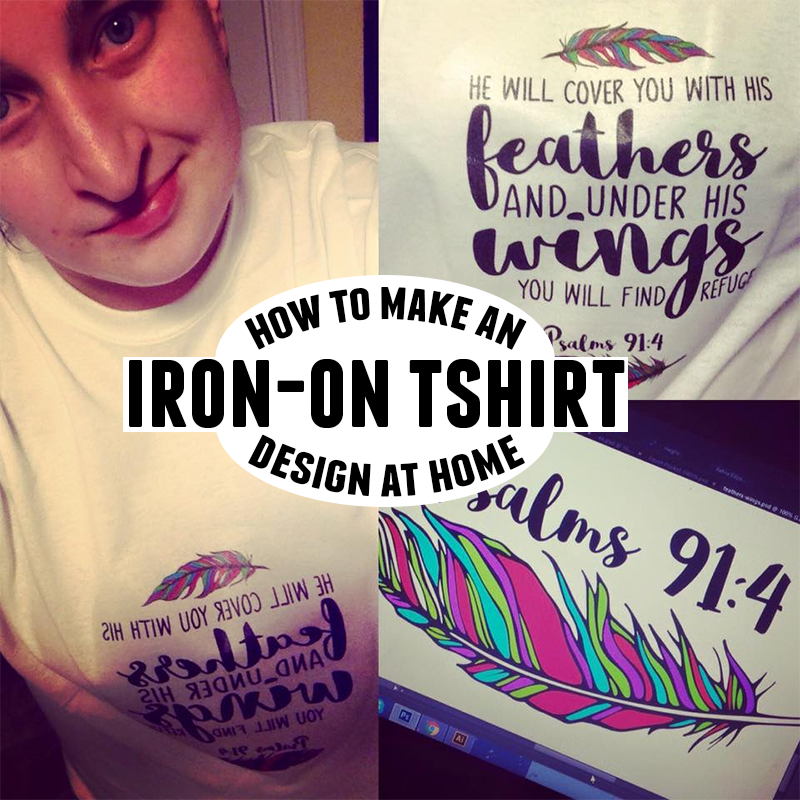
I always found myself buying t-shirts with sayings and whatnot on them. Then it hit me, I can make these all myself and save so much more money. Here’s a simple tutorial – How To Make An Iron On T-shirt Design At Home – It’s super simple.
I made shirts like these for friend’s wedding shower as well as shirts to wear to a concert for friends. Here’s a few of the shirts, I’ve made so far. The one below I wore to a concert. I had a lot of people comment on how they loved the shirt too.
Save your money and make your own iron on t-shirt designs at home, let me show you how! Have you every caught yourself in the store looking at clothes and you thought to yourself, “I can do that.” It’s easier than you think and I’m going to show you how.
How To Make An Iron On T-shirt Design At Home
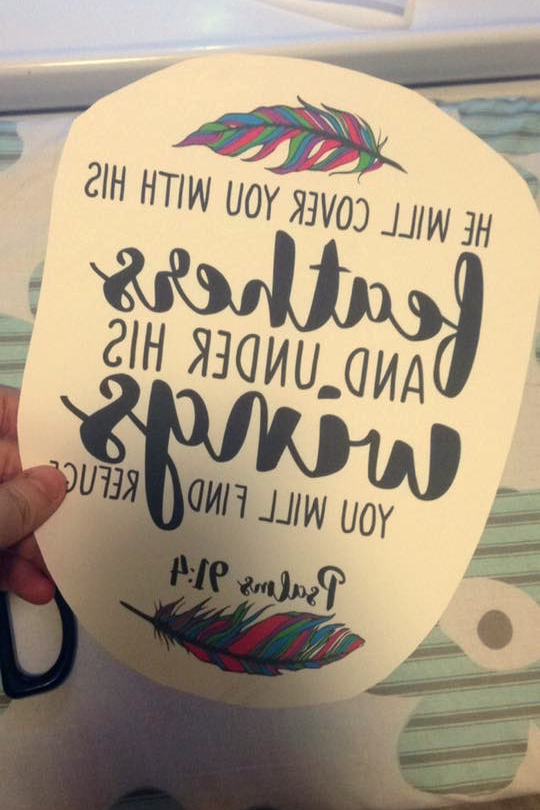
STEP ONE: Print & Trim Transfer Sheet
Before you print anything, you need to find a design. I have an Etsy shop of designs and I can create custom designs too. You can also buy tons of designs at DesignsBundles.net & CreativeFabrica.com.
Then you will need to order some transfer paper for the printer. I got this 20 pack, for all of these at home designs. You have to get ones made for dark clothes too, so pay attention to what it says.
Some of the transfer sheets I got you auto-flipped the transfer sheet and some you don’t. You have to read the instruction on whatever packet you buy.
DON’T FORGET TO LET IT DRY before putting it on the shirt. Trim around the extra white area, but leave about 1 inch around the image/text.
STEP TWO: Iron on to Shirt
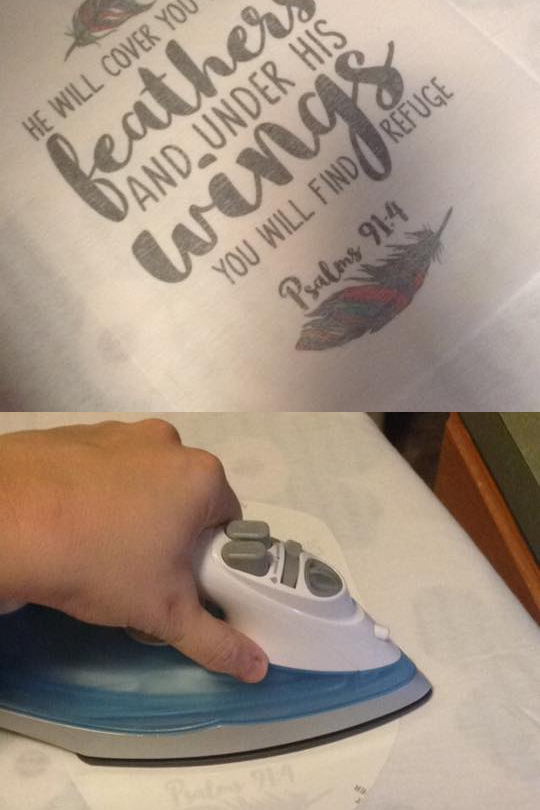
After you print out the shirt and trip the extra white area. Put your shirt on a ironing board. Make sure your image is in the spot you want it and make sure it’s straight. (made that mistake once, lol). Turn on the iron and let it sit for about 5 minutes and make sure the steam is OFF. Make sure you move the iron around on the image and not in one area or it will burn. Follow directions on transfer sheets.
STEP THREE: Let Cool & Peel Away
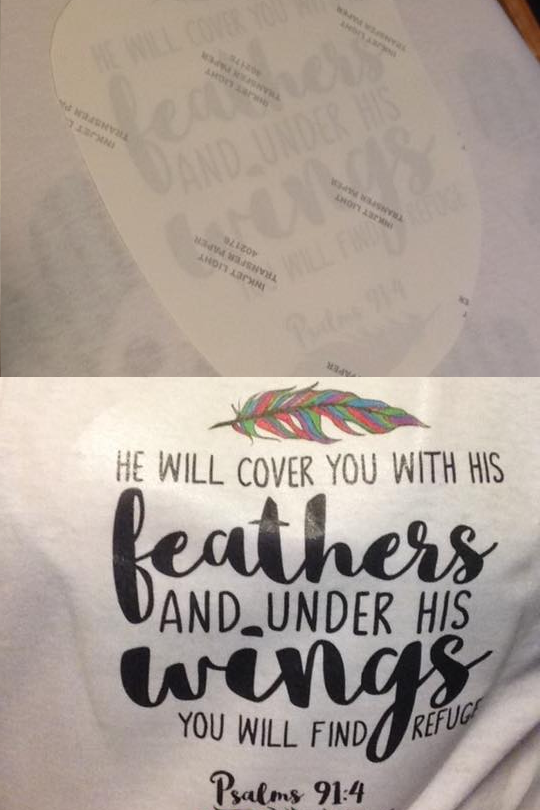
When you are done ironing it on the shirt, it cool before you pull it off the shirt. It should come right off and leave the design on the shirt. When washing the shirts use cold water and turn them inside out for best results.
Have you tried to make an iron on t-shirt design at home?
If you use this tutorial to make a shirt design, please show me, I’ll love it see it! If you need more help or you want more tutorials like this, please also contact me. I’ll love to help!


Cheryl says
That’s a very pretty t-shirt.
Delaney says
I agree the shirt is very pretty. Also I love the Bible verse
Jo Anne V says
this is a fun project to do with kids
Elizabeth says
This is such a cool idea! I’ll have to check out your Etsy Shop!
Edye says
Gorgeous shirt! Love that bible verse <3
Becky Richardson says
This is so cool!
Sherry Compton says
Great idea! So much cheaper and there are so many things you could do with this.
Amber Ludwig says
Love how it turned out!! Seriously such a better option than buying somewhere!! I hate the t shirts they use!!
Stacy says
I love the feathers, very nice design. Plus, I have not seen that anywhere, which makes it very unique. I haven’t made an iron-on tee shirt since I was a kid, it would be fun to start making them again, especially since I just started running and have signed up for several races this year.
Judy Cox says
This is a good idea and I love the t-shirt you made. My daughter would love it!!
Jane Ritz says
i like making my own shirts too . It’s to easy to make the shirts to justify spending the money.
Jessica Cox says
This is so easy and cute and very inexpensive , and you could use a shirt that would actually fit you
Sarah L says
I read the shirt funny. I thought he would put feathers under your wings.
Laura says
I remember doing this with my Mom growing up! I really like the shirt decal design! 🙂
Jeanna Massman says
This reminds me of one of my favorite hymns that was inspired by a Psalm.
Marnie G says
How awesome! I didn’t even know that this was available! Very cool….. so many options now!
Natalie says
I used to do iron on tshirts but it has been a while since I have attempted it again. I love putting Bible verses on tshirts!
Francine Anchondo says
Thanks for the helpful tips on making your own tshirt . Always looking for ways to save money.
Kathy Ross says
You do a nice job! I wish I had the patience to do something like this! Maybe I’ll try it sometime.
Jerry Marquardt says
Thank you so much for the instructions on how to put the iron-on decal on the shirt. I liked the educational review.
Jason says
Hey! Did this require any special ink!?
Natalie says
Not that I know of, I had regular ink. When I made the shirts, I’ve made so far.
kim says
How long does the ink last on the shirt before peeling? Is there a program that works best for this? I plan on trying this method for my business and cutting costs. Thanks!
Natalie says
I have shirts that I made 3 years ago and they still haven’t peeled yet. I guess it depends on how many times it was worn & washed. If you get templates from the store, they have programs you can open them with.
Amber says
Do you just make the design in photoshop or something then print it out on the transfer sheets and it goes onto the shirt?
Amanda Doran says
Great tutorial, thanks! Don’t forget to wash and dry your shirt before applying the transfer, especially 100% cotton shirts that will shrink! I made this mistake once and the iron on shriveled on the shirt after I washed it- very frustrating!
Regina says
Thank you for sharing I have been trying to get info on how to make my own iron on’s.
Kenya says
Hello,
Do you use a regular printer to print out the transfer sheets, or do you need a special printer?
Dana Rodriguez says
These are really pretty. What a great idea!
Nova S says
ive always been hesitant about these because they look a lot lower quality..